Difference between revisions of "Sony VX2000 Tutorial"
(→Monitoring Playback) |
(→Monitoring Playback) |
||
| Line 64: | Line 64: | ||
===Step Two=== | ===Step Two=== | ||
[[Image:Vx2000 monitoring2.png|frame|CAPTION]] | [[Image:Vx2000 monitoring2.png|frame|CAPTION]] | ||
| − | |||
| − | |||
| − | |||
| − | |||
TEXT | TEXT | ||
<br style="clear:both" /> | <br style="clear:both" /> | ||
Revision as of 19:26, 1 July 2009
Contents
Skeleton (In progress)
Overview
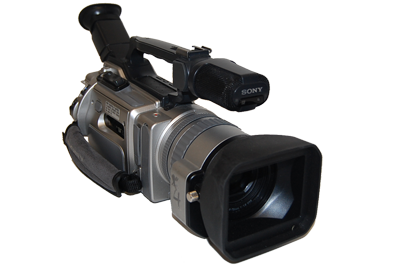
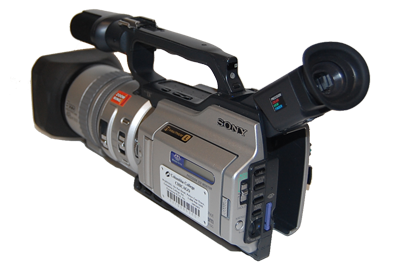
This tutorial covers the basic operation of the Sony VX2000 Video Camera.
Front and Back Views
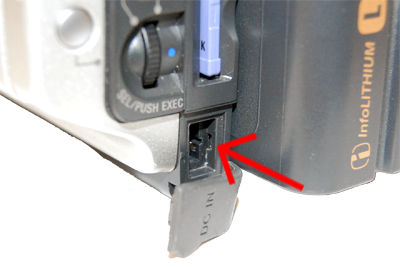
Connecting the Power Cord
Using the power supply, connect the plug into the DC IN jack.
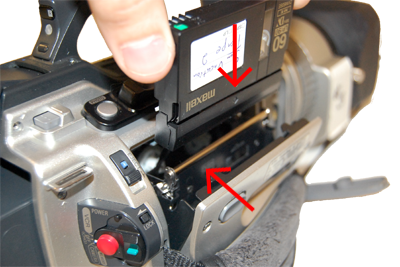
Inserting a Cassette
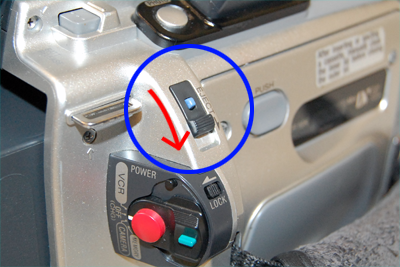
Step One
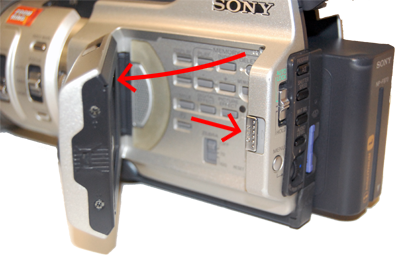
Press the blue button on the EJECT switch and slide it downward.
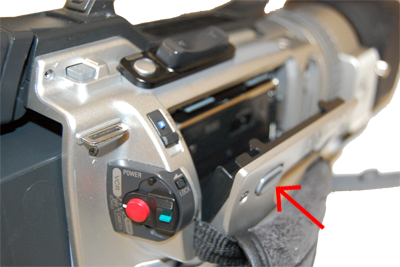
Step Two
Insert the cassette into the compartment and close the compartment by pressing the PUSH mark on it.
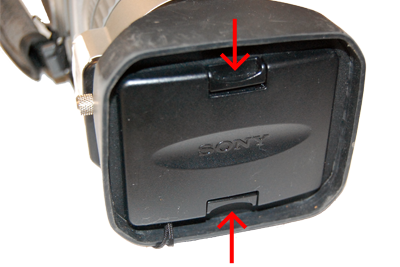
Step Three
Close the cassette lid by pressing the PUSH button on the cassette lid.
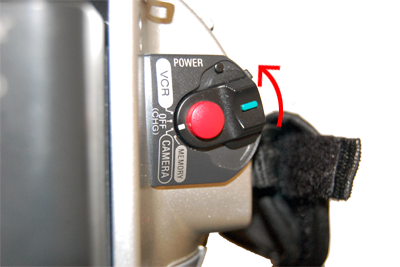
Recording a Picture
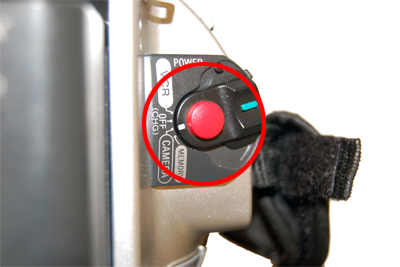
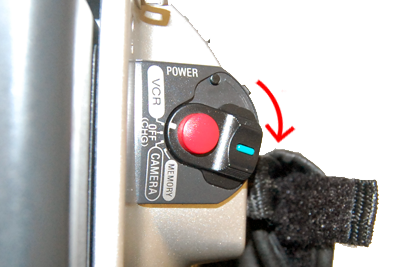
When recording with the LCD screen closed, recording can be monitored through the viewfinder. The follow steps still apply though.
Step One
TEXT
Step Two
TEXT
Step Three
TEXT
Step Four
TEXT
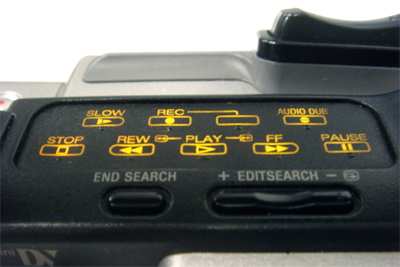
Monitoring Playback
Step One
TEXT
Step Two
TEXT
Full Manual
This tutorial guided you through the basic way of recording and playback. If you are interested in learning more on the advanced features please refer to the owners manual.
http://www.henrys.com/manuals/sony/DCR-VX2000(en).pdf
