Tracing in Flash
Before you begin tracing your story boards in flash we need to change some of the stage properties.
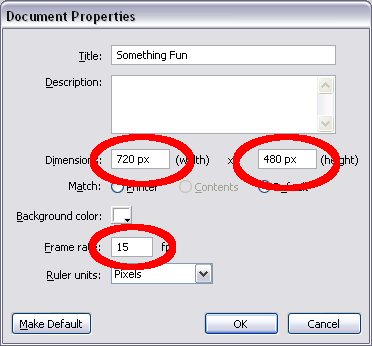
To change to stage properties click on the stage and select size
Now enter
Dimensions 720 px by 480 px (this matches the frame size in premiere)
and
Change the Frame Rate to 15 fps (approx 1/2 of the frame rate in Premiere)
Select OK
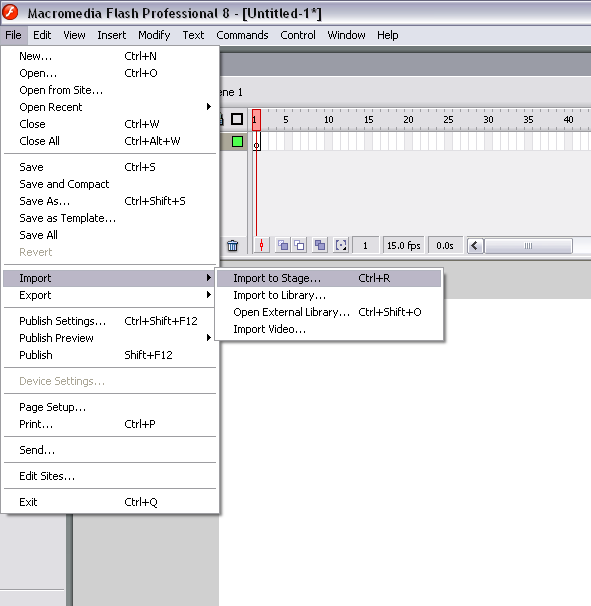
Now we are ready to import our bitmap graphics. Go to File and select Import to Stage or Ctrl+R Select the bitmap you would liek to import. It may ask if you want to import a series on bitmaps. I usually say no as we are going to make a separate flash file for each scene.
Once you have selected the bitmap it will be called 'layer 1' you may want to rename it. I called mine 'OrigBitMap'.
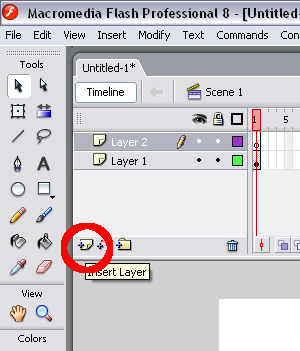
Now you'll need another layer to start tracing. Press the new layer button right below the layers box.
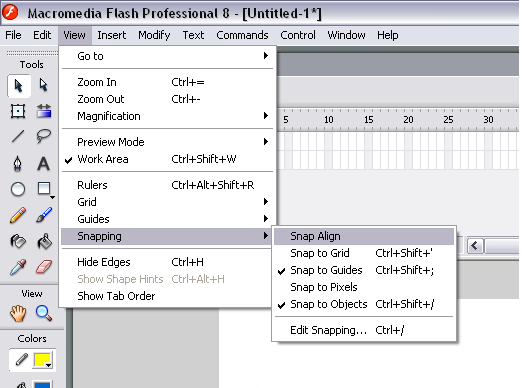
I also like to turn off the grid snapping. Under View/Snapping I usually turn off Snap Align
Select the line tool
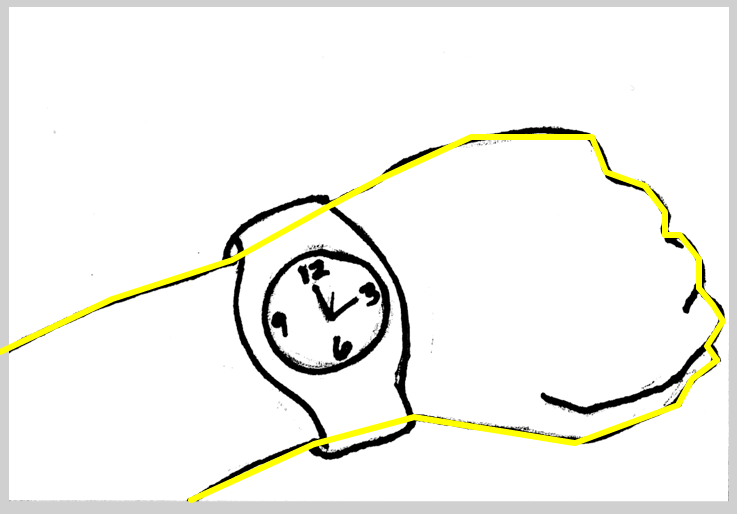
Change the color to something obvious (I like Yellow). I also like to turn the line width to at least 4 pixels (6 looks nice on a regular TV screen anything thinner may look jaggy).
Now Trace you image with straight lines it should look similar to below
Change to the Selection tool
The selection tool can now bend and add cv (press Ctl and click) to make the shape match your original drawing better.
You can also use the Subselection tool.
Once you have one shape traced you may want to add another layer or group that shape.

