Difference between revisions of "Premiere Audio Demo"
| (One intermediate revision by one other user not shown) | |||
| Line 1: | Line 1: | ||
| − | [[Category: | + | [[Category:Tutorial]] |
| + | |||
| + | [[Permiere Title Video]] | ||
When editing in the Audio workspace | When editing in the Audio workspace | ||
Latest revision as of 16:54, 13 July 2010
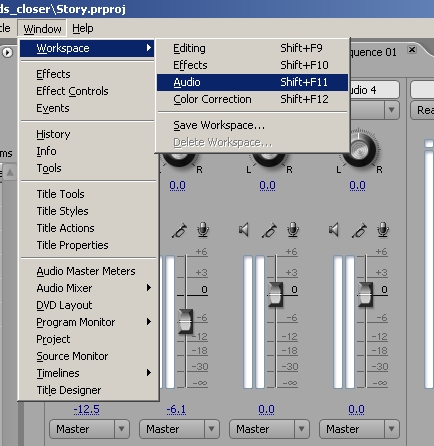
When editing in the Audio workspace
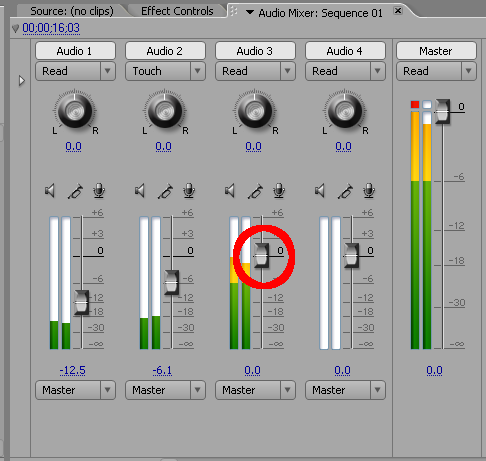
You will be able to see a mixer type interface. The mixer in premiere emulates and analog mixer. Each Audio track gets a volume fader a pan knob, solo, mute, and record button.
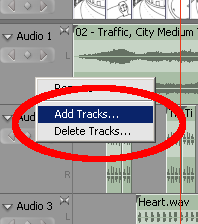
You can add tracks by right clicking on a track and selecting Add Tracks.
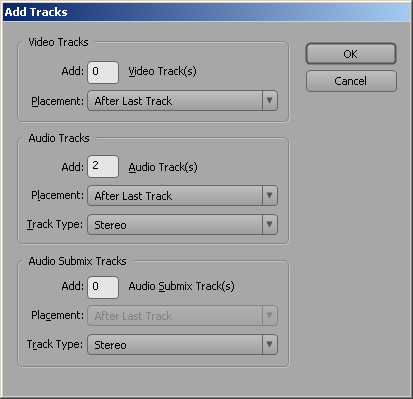
Premiere will then display the new track dialog. You should then select how many audio trach you want.
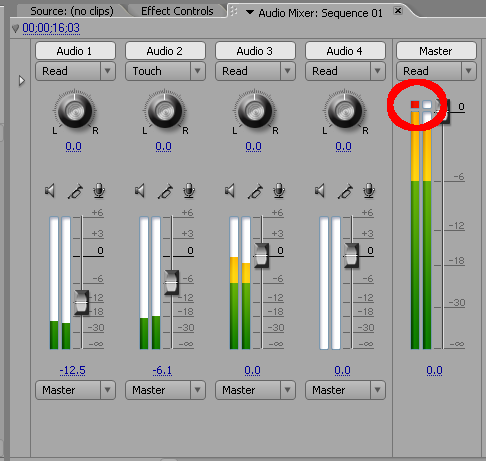
Remeber you need to wtach the master volume for clipping
If the master track clips you'll need to turn down the tracks that caused the clipping
Remeber that as you turn down the volume on Audio 3 it will affect the entire length of the track.
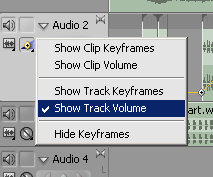
In order to change the volume through time. You need to change some of the key frames on the track volume. To view the key frames click on the show key frames button.
Select
Now you'll be able to see the volume curves. Then select the Pen tool.
Ctr click with the pen tool will add key frames and cv curves to the volume control.
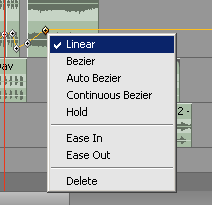
Right clicking the Keyframe will allow control of the cv points
Now you can create intricate audio mixes
