MTD2 class 7
esse quam videri
Destructive Effects in SoundForge
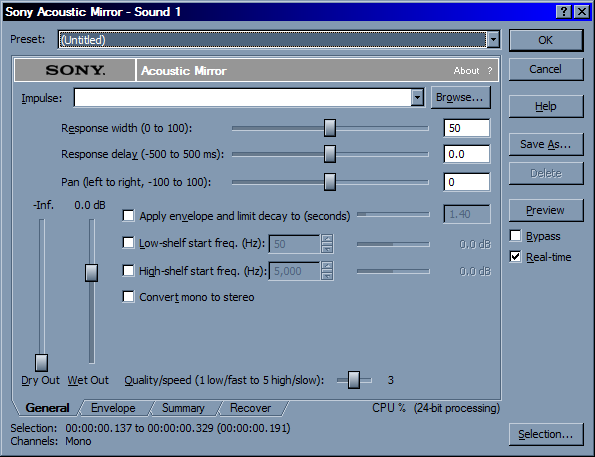
A typical effect window
Preset
- Some Presets from sony
Save As
- Lets you save your own presets useful to preserve setting across projects or tracks
Preview
- Play A preview with the effect
ByPass
- Bypasses the current effect useful when comparing affected signal to orgiginal
Dry Out
- A mixer bat that will let you balace the amount of the original signal
Wet Out
- A mixer bar that lets you determine that amount of the affected signal
Premiere Demo
Tools
|
Ripple Edit tool
- Changes In and Out of clips
Rolling Edit tool
- Changes In and Out between clips but preserves the total duration
Use the Ripple and rolling edit tool to start laying out the timing of your story.
Premiere audio tools
How to set up Premiere to work with Sound Forge
Premiere Render Demo
Homework
Arrange boards in Premiere and create rough audio mix.
Start to rough out audio in Premiere. Don't worry about cross fading or transitions between effects. Just rough out some of the sounds and adjust the overall levels of the tracks. Be careful not to clip you should turn down the track volume if you do start to clip.
Render Rough Mix 1 and post it on you website
