Tweening/Path Animation Tutorial
Tweening in Flash 8
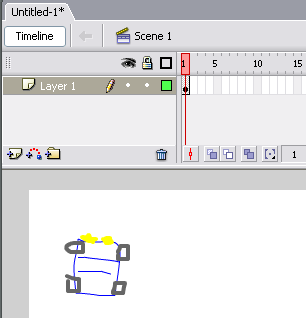
Open and new flash document. Using the drawing tools in flash draw something that resembles a car on the stage
We need to group all the lines together so that we can deal with the can as a sinle object. Use the Flash Select tool to select all of the the car drawing.
Once the car is selected press ctr-g or go to Modify/Group. You should now see
Now the car acts as one object and can be easily moved. In order to animate the car we'll need to add more frames. Click on frame 15 on layer1 in the time line and press F6 to add a keyframe or right click and choose Insert Key frame.
Now select the key frame and move the car to a different spot on the stage. You'll notice that the car stay in one spot for moist of the frames the jumps to the new spot only on the new key frame. It should look like this.
| width=550|height=400|quality=best</flash> |
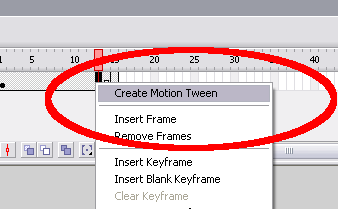
In order to make the car move smoothly from the original spot to the new spot we need to add a motion tween. The motion tween will create all of the frames between the two key frames. To add the motion tween right click the space between the two key frames and select 'Create Motion Tween'.
The properties panel has some settings for the motion tween.
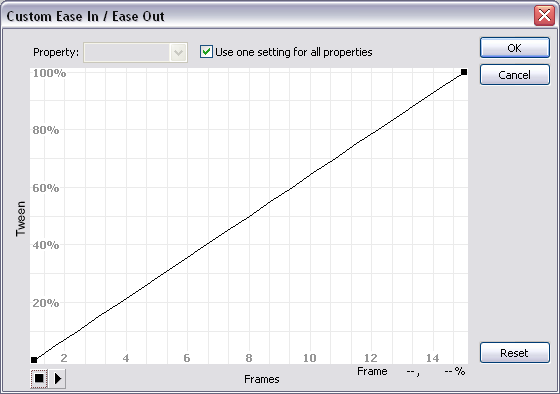
The tween will create a smooth animation from one point to the other. If you want to change the rate of the tween you can change the 'ease' settings. Flash 8 also adds more control with an graph tool that you can open by clicking the edit button by the ease control.
The tweened animation should look like this.
| width=550|height=400|quality=best</flash> |
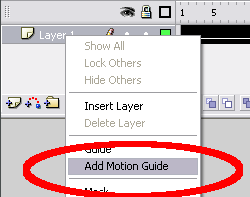
Regular tweens are nuce but they often are very mechanical and do not emulate real motion. You can come closer to real motion by using a motion path. In order to add a motion path you need to add a Guide Layer to the layer that you wish to animate. YOu can add a guige layer by right clicking the layer and selecting 'Add Motion Guide'.
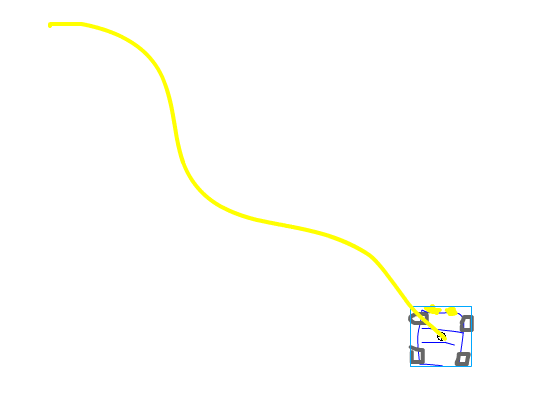
On the new Guide layer you shoudl draw a the path that you want your object to follow.
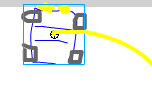
The car form the car layer then need to be placed on the end of the path.
and the other end.
If You did it right the car should follow the path. Sometime Flash is kind of picky, you should make sure that registration point of the object is touching the path in both key frames.
| width=550|height=400|quality=best</flash> |
Next you may want the rotation of the car to follow the curve of the path. To do the you should first us ethe transform tool to rotate the car to point down the path.
You can then select 'Orient to Path' in the motion tween properties. Now flash will attempt to rotate the car along the path. It may rotate the car 180 degrees the wrong direction. This is because flash is only rotating vectors and doesn't know the it is the wrong way. If this happens just add a new key frame where is starts to go the wrong direction and use the transform tool to set it right.
now it should look like this.
| width=550|height=400|quality=best</flash> |
