Difference between revisions of "Premiere Render Demo"
esse quam videri
| (One intermediate revision by one other user not shown) | |||
| Line 1: | Line 1: | ||
[[Category:MTD2]] | [[Category:MTD2]] | ||
| − | [[Category: | + | [[Category:Tutorial]] |
| − | In order to show all your hard work on premiere off to the world you must first render you animation out in a from that is easily | + | In order to show all your hard work on premiere off to the world you must first render you animation out in a from that is easily accessible. |
We are going to render our rough animtions in two popular formats. Those formats are | We are going to render our rough animtions in two popular formats. Those formats are | ||
| Line 9: | Line 9: | ||
Premiere offers two ways to render out your project. | Premiere offers two ways to render out your project. | ||
| − | :one is to choose file\export\movie and | + | :one is to choose file\export\movie and choose all the settings you want |
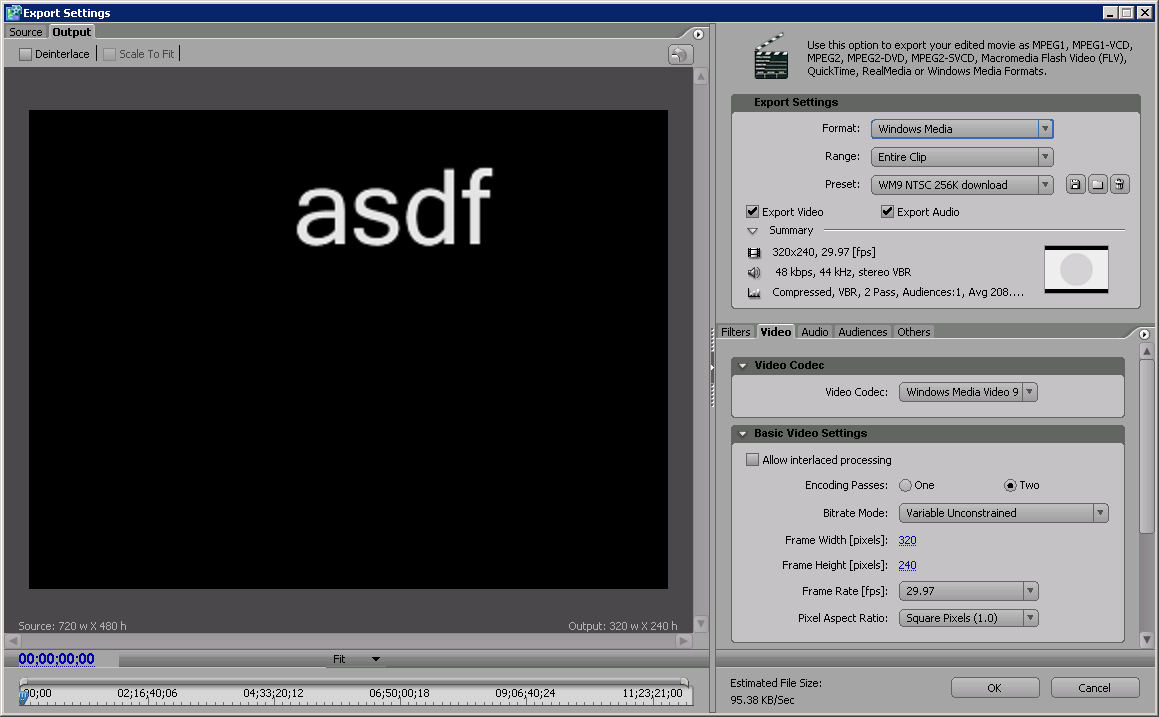
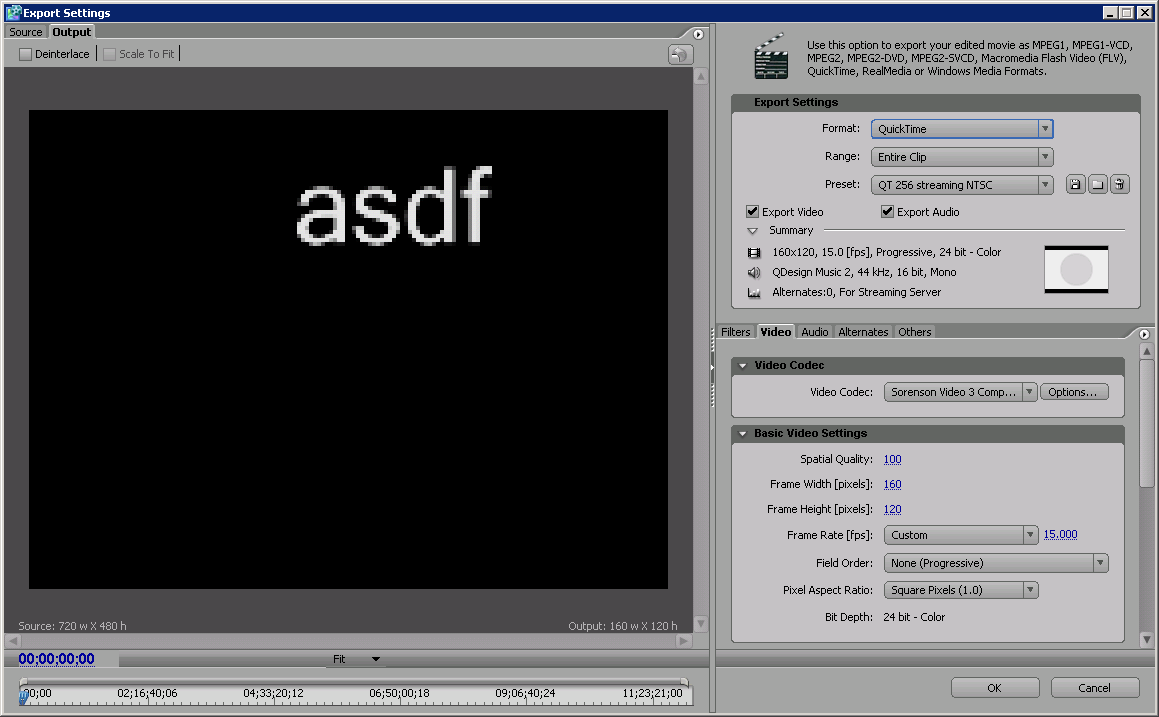
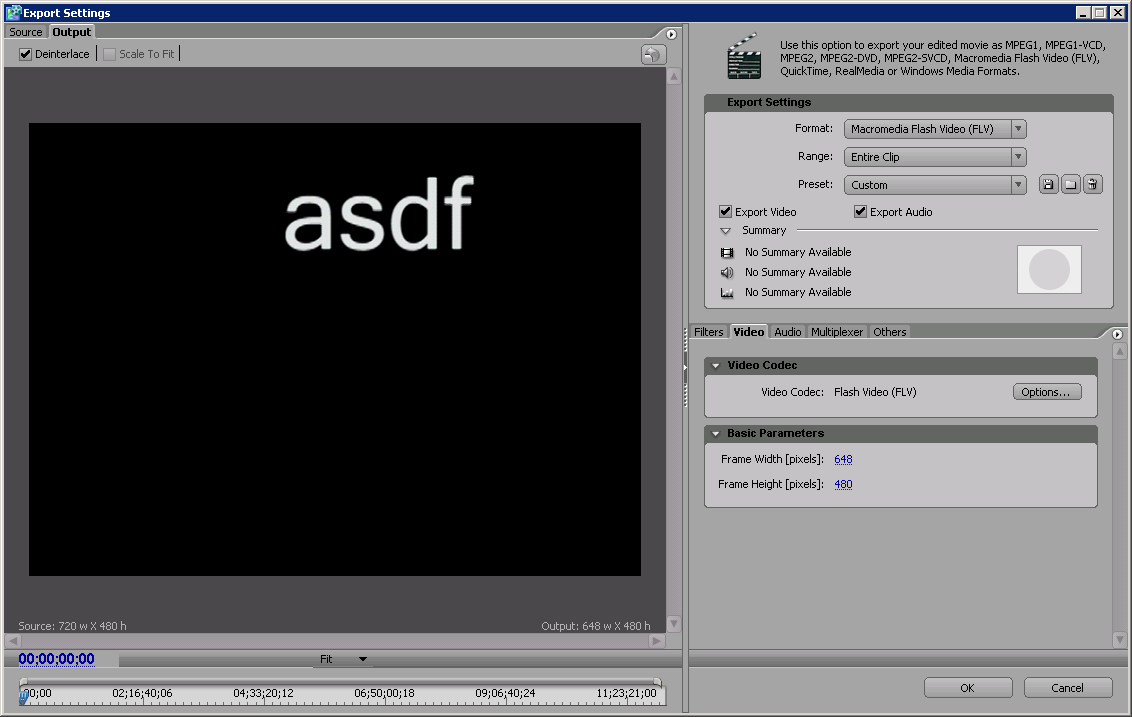
:The other one is to choose file\export\Adobe Media Encoder and use the exporter settings | :The other one is to choose file\export\Adobe Media Encoder and use the exporter settings | ||
Latest revision as of 20:54, 4 August 2008
In order to show all your hard work on premiere off to the world you must first render you animation out in a from that is easily accessible.
We are going to render our rough animtions in two popular formats. Those formats are
Premiere offers two ways to render out your project.
- one is to choose file\export\movie and choose all the settings you want
- The other one is to choose file\export\Adobe Media Encoder and use the exporter settings
To render in premiere we are going to use the Adobe Media Encoder since it is easier to setup.


